What an exciting day! My Ogglette was turning two and I was so looking forward to family visiting and celebrating with everyone. But, honestly, other than the vague idea of a fall theme I didn't plan much ahead. Our lives have been super busy with other things like Rob's ever more demanding Residency schedule, looking for a minivan for me, and just preparing for Ogglette #2 who is due on February 4!
So, I can be a bit of a procrastinator at times but, even I know when it's a week until party time you had better get your butt in gear. I sat down the weekend before and wrote out a rough menu and searched online for fall decorating ideas (though I really didn't use any...none were cheap or quick enough).
One thing I know for sure was that I wanted to make a pumpkin cupcake recipe that my friend Margie shared with me. She made some for us in September and they were soooooo yummy that I just know they had to be a part of this fall birthday celebration. The Ogglette was my big helper the night before the party. She put the cute Halloween cupcake cups into the pans for me. FYI...if you shop at Aldi like I do, keep an eye out for seasonal items like this. I bought 75 cupcake cups for 99 cents. Not only was this way less expensive than the supermarket, I actually thought the designs were a little cuter. That's why I always shop there first.
She started out okay on the task then lost track on what she was supposed to do. After getting all the paper cups where they were supposed to be she proceeded to take them all back out and stacked them in one big pile....then made another stack, etc. This did keep her busy though the whole time I made the pumpkin batter so, I didn't mind.
I know this was specifically a cupcake recipe and had never experimented but, wanted to make Annabel a cake too. So I took about half of the batter and divided it into two round layer pans. The rest became 12 cupcakes instead of the 24 the recipe usually would make. I was actually super happy with the results of the experiment. The cake was moist and spongy but, it didn't rise a ton in the middle and since it baked so evenly I didn't even bother cutting the tops down before icing it.

Now, if you're a total cake decorating amateur like me I recommend ALWAYS practicing your decorating techniques before doing the actual cake. I've found for me that the easiest is to just practice on the dirty cake pan (upside down) so you have the exact size and shape. Although, I don't recommend what you see above which is being lazy with the practicing and leaving a word out. Of course the thing I messed up on the actual cake was my daughter's name....kinda important. However, as my hubby kindly pointed out when I messed up my very first cake....there is no reason you can't scrape the words off, re-ice and start again! So, I've done this quite a few times as you can imagine.
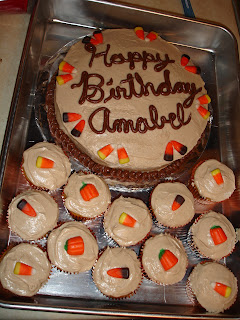
I wanted a quick colorful way to decorate the cupcakes and my sister suggested sprinkles which I thought would be super cute. Of course, I couldn't find fall colored sprinkles at any of the three grocery stores I shopped at the week before the party so, I improvised with candy and might be even happier with the results. If you are inexperienced like me I recommend candy for decorating esp. kids cakes. They lend some color and fun without any need for special skill or creativity. For the pumpkins I cut them in halves before putting them in the icing. Also, In hind sight if you are nervous about doing a border on the bottom of the cake or lack piping tools than you could probably border the bottom with candy corn. Might look pretty cute...

If you want to a simple and fun way to save your family big bucks I would recommend learning at least the basics of cake decorating. As you can see, my cake is not perfect but, it was delicious and everyone loved it. I can still remember appreciating that my mom ALWAYS made us homemade cakes for our birthdays. It made me feel special and even though she usually just decorated it with some sprinkles I always thought it was better than a store bought cake. And I'm sure to my mom with four kids the less than $5 price tag of cake ingredients was a no-brainer over similar sized store-bought cakes that cost triple the price. Mine cost less than ten if you would have to buy all the ingredients. But, I had only had to buy the pumpkin pie filling and candy which was more like $4.

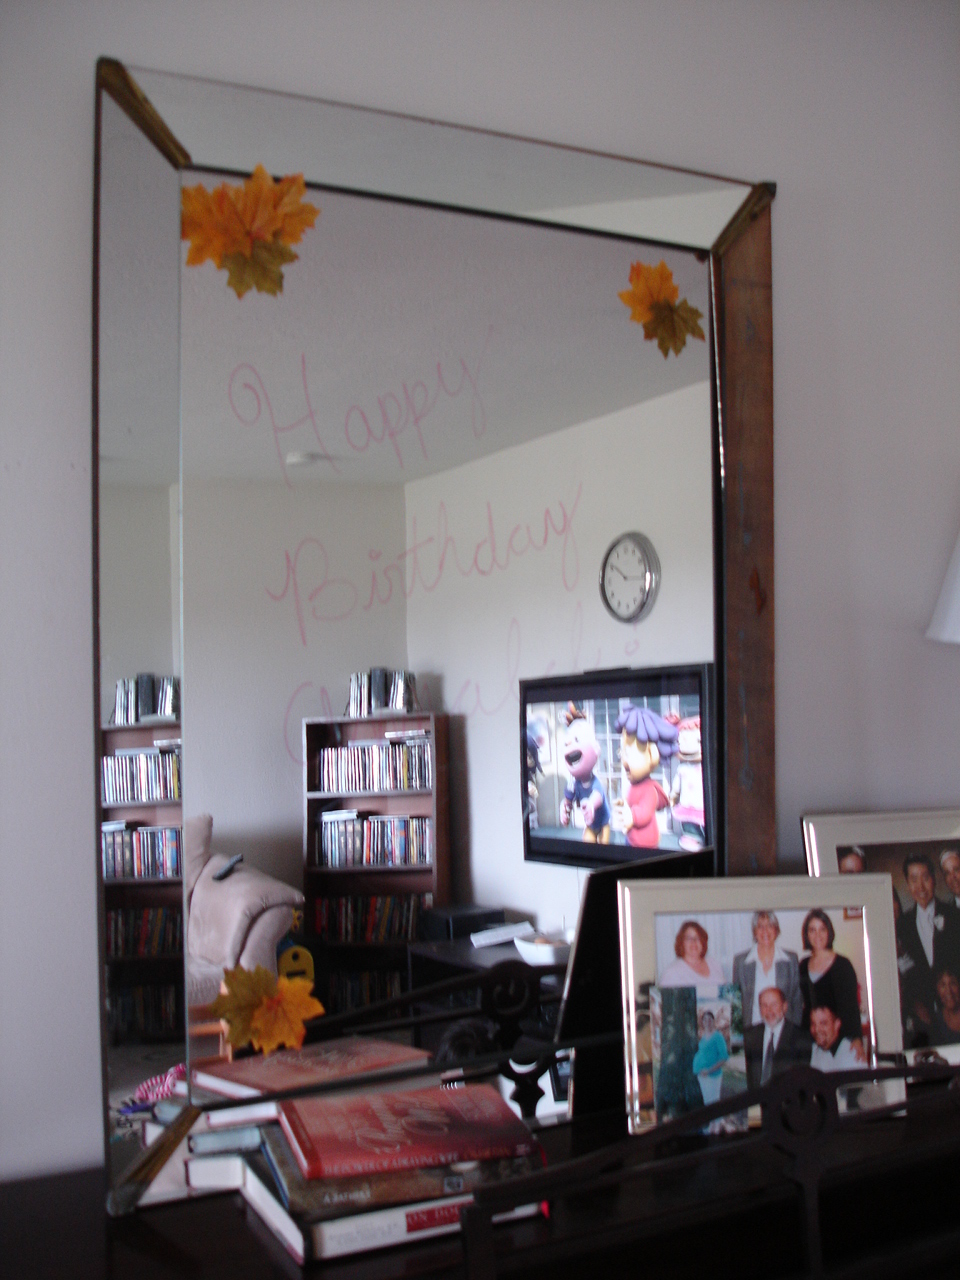
Here is my spread mid-party...seemed like it looked cooler in person. Oh, well. It was a week thrown together with minimal cost. I decorated with colorful plates, cups and napkins from Target that cost about $6 altogether (and I've got lots left over for another day). The candy was about $5....also have a lot for another day....oops. And, I spent $5 at the dollar tree on some cute fall leaves, some tiny fake squash, and plastic spoons and forks. In retrospect we didn't need the spoons. Also, got two cute little tins that were in some fall colors for a $1 each in Target's dollar section and they were the perfect size to hold the plastic ware. Will definitely be reusing those. My splurge was the table cloth for $3 at the thrift store. I put the little leaves on the food table and taped them on the corners of the painting above the food table. I decorated my mirror in the living room the same way AND used a dry erase marker to write Happy Birthday it. I guess that is about $25 on decorations, plates etc. and I just put them here and there as it looked cute. Nothing earth shattering but, if you're on a budget and in a hurry it's very doable. Of course I am not counting food cost but, along with the snacks you see we also served my favorite easy bbq pulled pork, salad and cold drinks.

I was super happy to use the drink server I bought at the thrift store a few weeks ago to have lemon ice water on hand for everybody. I figure I payed $3 one time for the server but, will save myself tons on bottled water in the future. Of course no party is complete without my big sister's iced tea and no fall party is complete without cider. If you look carefully, you can kind of see that I put some of the tiny squash with some leaves under the drink thing...also, seemed ot look cuter in person. Ah, well, I tried.
Here you can see some of the leaves above the food table, and some of the tiny dollar tree squash attempting to liven up a real butternut squash we will be eating later this week.
Unfortunately this "sign" did not show up very well in pictures. It was one of my favorite details because it was personalized and cost $0. Also, it took like 15 seconds to do!
Another attempt to capture the Happy Birthday "sign"...can you just barely see it?
It doesn't look like it here but, the Ogglette LOVED her homemade cake. haha
Okay, so maybe she liked the cupcakes better.
BBQ Pulled Pork:
Pupkin Cupcakes:
http://www.tasteofhome.com/Recipes/Pumpkin-Spice-Cupcakes-with-Cream-Cheese-Frosting